The best newborn photography lighting is the biggest window in your home, with the sun not shining directly through it. No ring light, no flash kit, nothing you have to buy. Soft, indirect window light is what professional newborn photographers build entire studios around, and you already have it.
The whole recipe fits in one sentence. Lay your baby beside a large window at roughly 45 degrees to the glass, turn off the flash and every overhead light, and shoot during a bright mid-morning nap. Everything below explains why that works and how to fine-tune it.
Why does window light beat everything else?
The bigger a light source is relative to your subject, the softer the light. That one rule explains the whole thing. A camera flash is tiny, so it throws hard, unflattering shadows. A window is enormous compared to a seven-pound baby, so the light wraps around cheeks and chins instead of carving lines into them.
Newborn skin is the other reason. In the first weeks, skin can be blotchy, peeling, or a little jaundiced. Hard light exaggerates every bit of that; soft window light smooths it out for free, before you've touched an editing tool. It's the foundation of every at-home newborn photoshoot worth printing.
North-facing and indirect, explained simply
In the northern hemisphere the sun never shines straight through a north-facing window, which is the whole reason photographers love them. The light stays even and gentle all day, with no sunbeams marching across your blanket mid-shoot.
Don't have a north-facing window? No problem. Any window works as long as the light is indirect, meaning you can't see a hard-edged patch of sunlight on the floor. Two easy fixes:
- Wait it out. Shoot when the sun has moved off that side of the house.
- Add a sheer. A thin white curtain turns harsh direct sun into a giant softbox. A white bedsheet taped over the frame works too.
How do you set up 45-degree window light?
- Place the blanket beside the window, not directly under it, so light travels across your baby rather than straight down.
- Angle your baby about 45 degrees to the glass. Light should fall from the top of the head down toward the chin; uplighting from the feet looks eerie on any face.
- Check the falloff. One side of the face should be a touch brighter than the other. That gentle gradient is what makes portraits look dimensional instead of flat.
- Shoot with your back to the window or side-on to it, so you're not blocking your own light.
Two details decide how well this works. An arm's length or two from the glass keeps the light soft while still leaving one side of the face brighter; press right against the window and the falloff gets steep enough to lose the far cheek. Keep the surface itself firm and flat with nothing loose near the face, which is what the American Academy of Pediatrics advises for any sleeping baby, since most newborn sessions happen mid-nap.
Which lights should you turn off?
- Flash. It flattens features, startles sleeping babies, and creates pinpoint shadows. Off, always.
- Overhead lights. Ceiling fixtures push shadows down into eye sockets and under the chin, and their warm bulbs fight the cool daylight, leaving skin half-yellow and half-blue.
- Lamps. Same mixed-color problem. Let the window be the only light source and skin tones stay true.
The exception is a room with no usable daylight at all. There, one lamp beats a dark, blurry frame, but move every other bulb out of the room first so at least the color of the light is consistent, then correct the warmth afterwards rather than at the shutter.
This one habit fixes more baby photos than any gear purchase. If you're shooting on a phone, it pairs perfectly with the focus and exposure tricks in our iPhone newborn photo guide.
What is the best time of day for newborn photography lighting?
Window light changes character through the day, and the table below sums up the four main slots.
| Time | Light quality | Verdict |
|---|---|---|
| Early morning | Soft but dim, warm tint | Workable, watch for blur |
| Mid-morning | Bright, even, neutral | Best window of the day |
| Midday | Strong, risk of direct beams | Fine with a sheer curtain |
| Late afternoon | Golden, directional, fading | Pretty, but fades fast |
Mid-morning often lines up with a newborn's deepest nap, too. If you're still choosing which day to shoot at all, see our post on when to take newborn photos. Days 5 to 14 are the sweet spot for those curled, sleepy poses.
How to read shadows on baby skin
Before you press the shutter, look at the shadows instead of the baby (hard, we know). Three quick checks:
- The nose shadow. It should be a soft smudge falling slightly down and to one side. A hard-edged black triangle means your light is too harsh, so add a sheer or move away from the window.
- The eye sockets. Dark hollows mean the light is coming from too high overhead. Move the blanket so light arrives from the side.
- The shadow side of the face. You should still see detail in it. If it's going black, prop a white pillow or foam board on the dark side to bounce light back in.
Cloudy days are a gift, not a setback. An overcast sky turns the entire window into one giant diffuser, giving you the most even, forgiving newborn light there is. Pros call it "nature's softbox."
When your light is just okay, let AI regenerate it
Sometimes the nap happens at 7pm, the only free wall faces a dim hallway, and the best frame you got is a little flat and yellow. That used to mean settling. Now the lighting can be rebuilt after the shot, because Totti takes a clear photo of your baby and regenerates the scene (background, styling, and professional-grade lighting) while preserving your baby's real facial features.
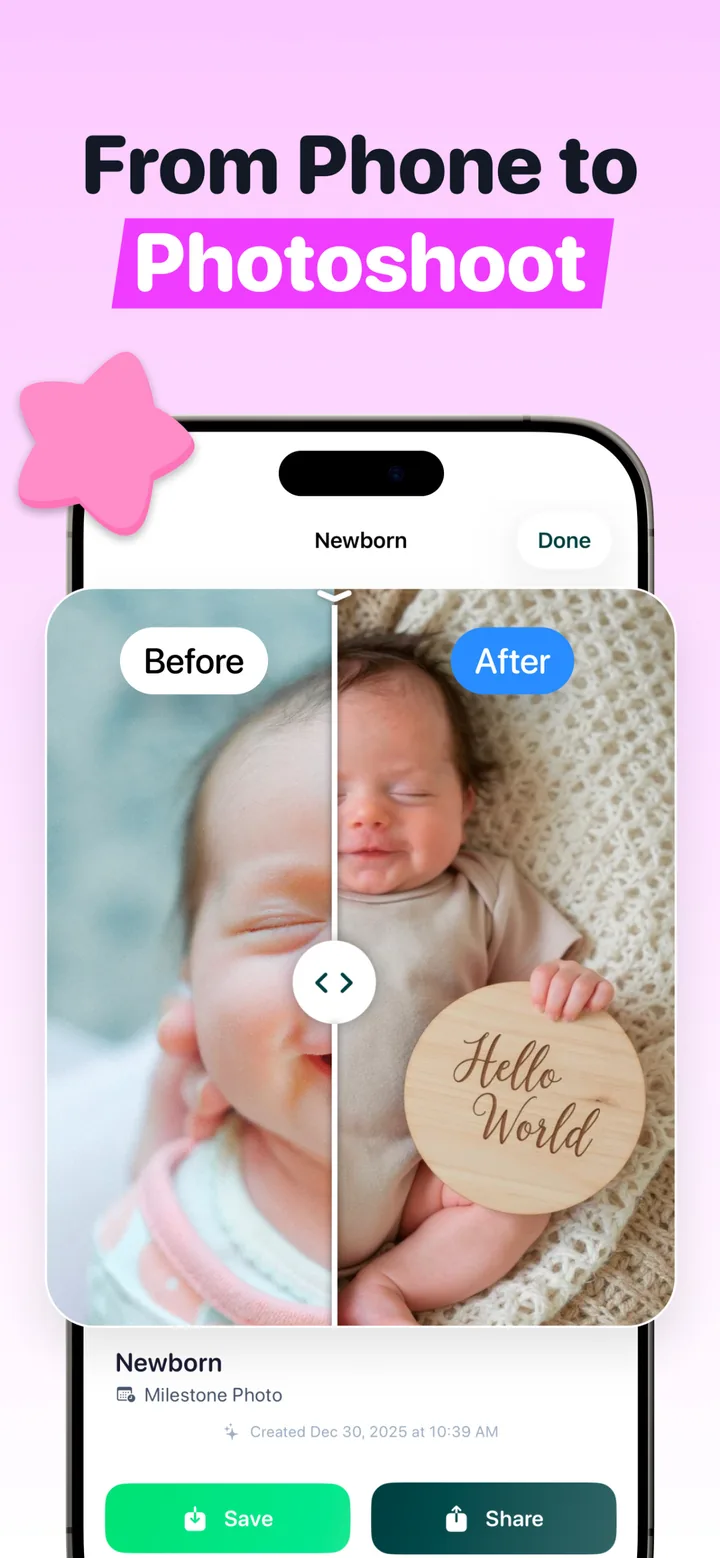
Your job shrinks to capturing one sharp photo where the face is clearly visible. The window-light basics above make that easy, and the app handles what a studio's strobes and reflectors would normally do, the same shortcut that powers full DIY newborn photography without a photographer.

Fix the lighting after the fact, for free
Upload one clear photo, pick from 50+ templates like Sweet Slumber or Curled Taco Pose, and Totti regenerates the backdrop and lighting studio-style. Then export in HD (2048×2560). Free to download on iPhone.
Get Totti on the App StoreSo chase the window light when you can. It's genuinely lovely and costs nothing. And on the days when the light just won't cooperate, take the sharpest frame you have and let the AI do the studio's job.